You add the events to your Google Calendar, but there seems to be no way to add those events into a Mailchimp campaign without manually copying and pasting all the details. Wouldn’t it be nice to automatically add in the events inside your newsletter with a couple of clicks?
Events in Campaigns to the rescue!
Sign up for Events in Campaigns
Grab a free trial of Events in Campaigns to get started.
Getting Your Google Calendar ID
To get your Google Calendar ID:
1. Go to the Google Calendar app and login with your Google account
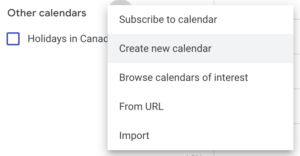
2. Scroll down to your calendar list and find the calendar you’d like to share. If needed you can create a new calendar for only the events you want to share in your emails by clicking the + beside Other Calendars and then choosing Create new calendar
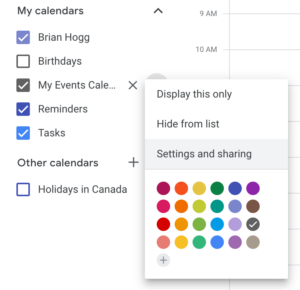
3. Hover over the calendar you’d like to share, click on the three dots on the far right side, then select Settings and sharing
4. Scroll down to Access permissions for events and click Make available to public

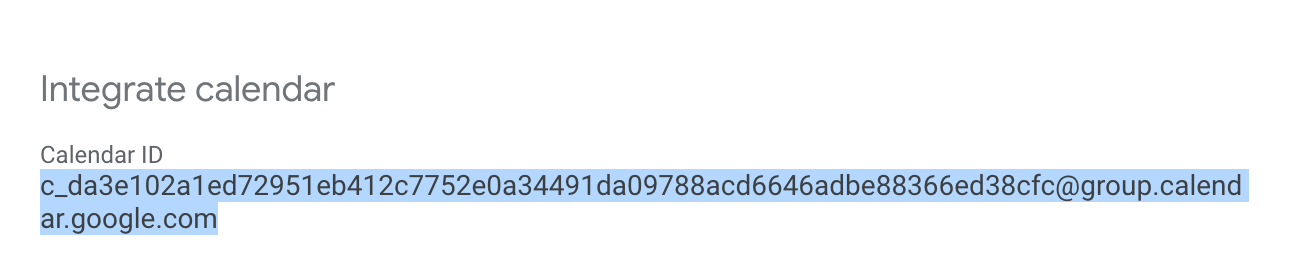
5. After making the calendar public, scroll down to Integration calendar and copy the Calendar ID
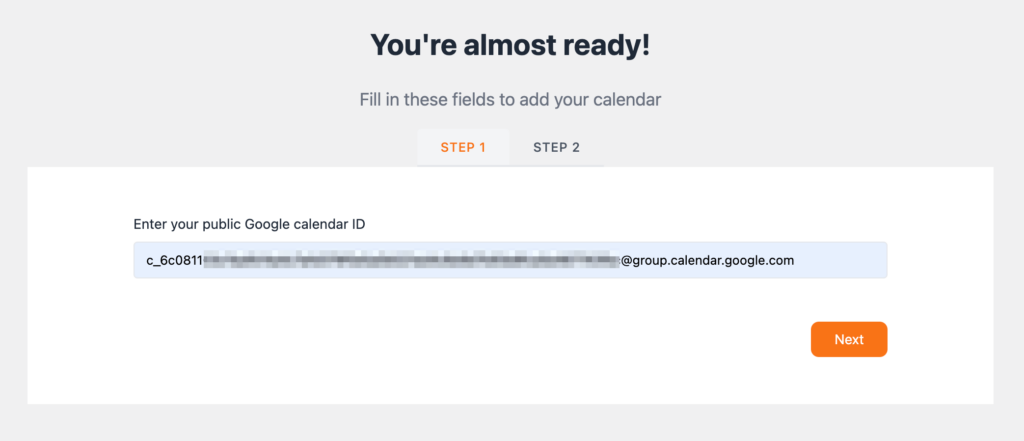
6. Last but not least, paste this into Events in Campaigns
Set up with Mailchimp
After clicking Next, you’ll see a field with a Mailchimp “feed block” tag. This tag will be replaced with your events inside your email campaign:
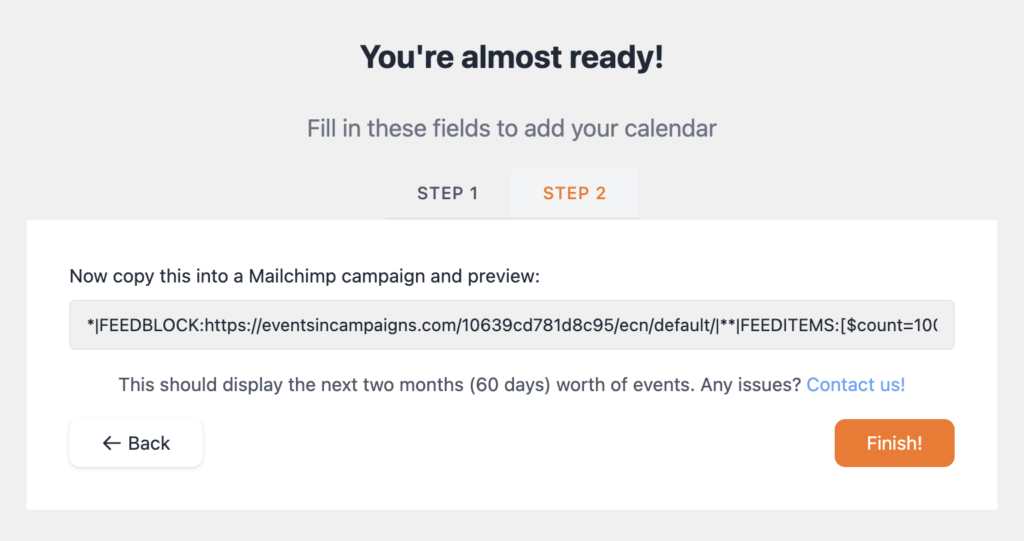
To use this, go to your Mailchimp account (free for 2000 subscribers if you don’t have one already) and create a new campaign. Inside a text block, paste the merge code you just copied:
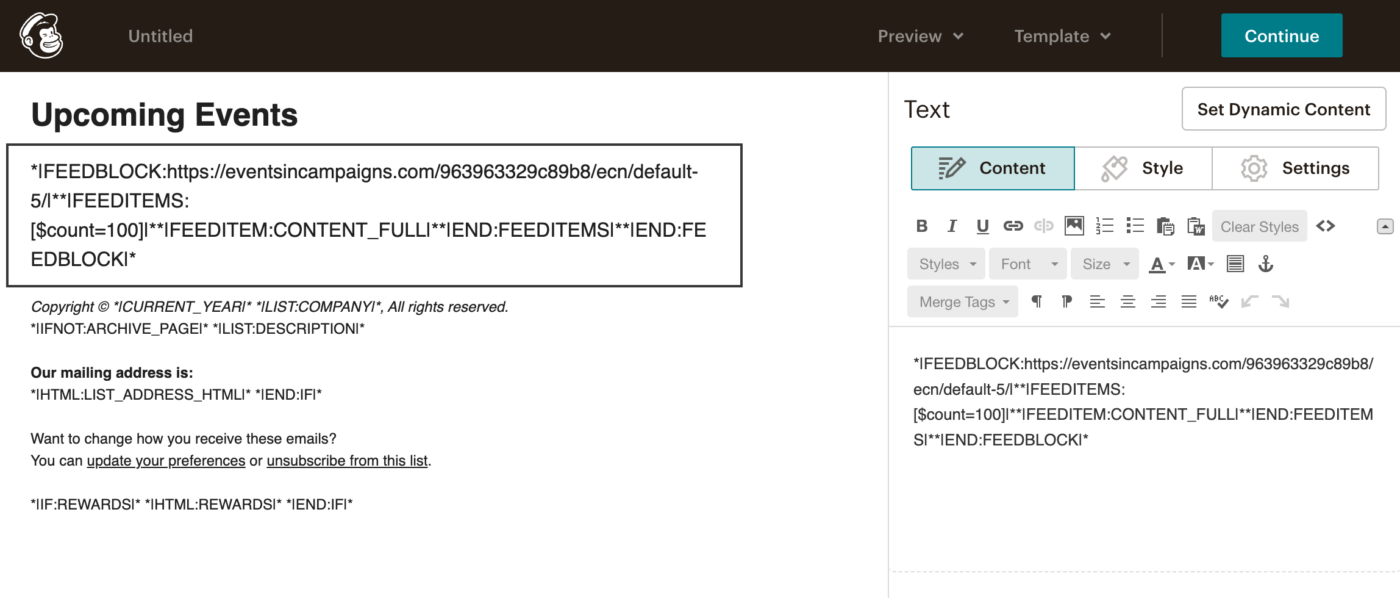
then under Preview at the top, select Enter preview mode:

You’ll see the next 60 days worth of events from your Google calendar automatically appear:
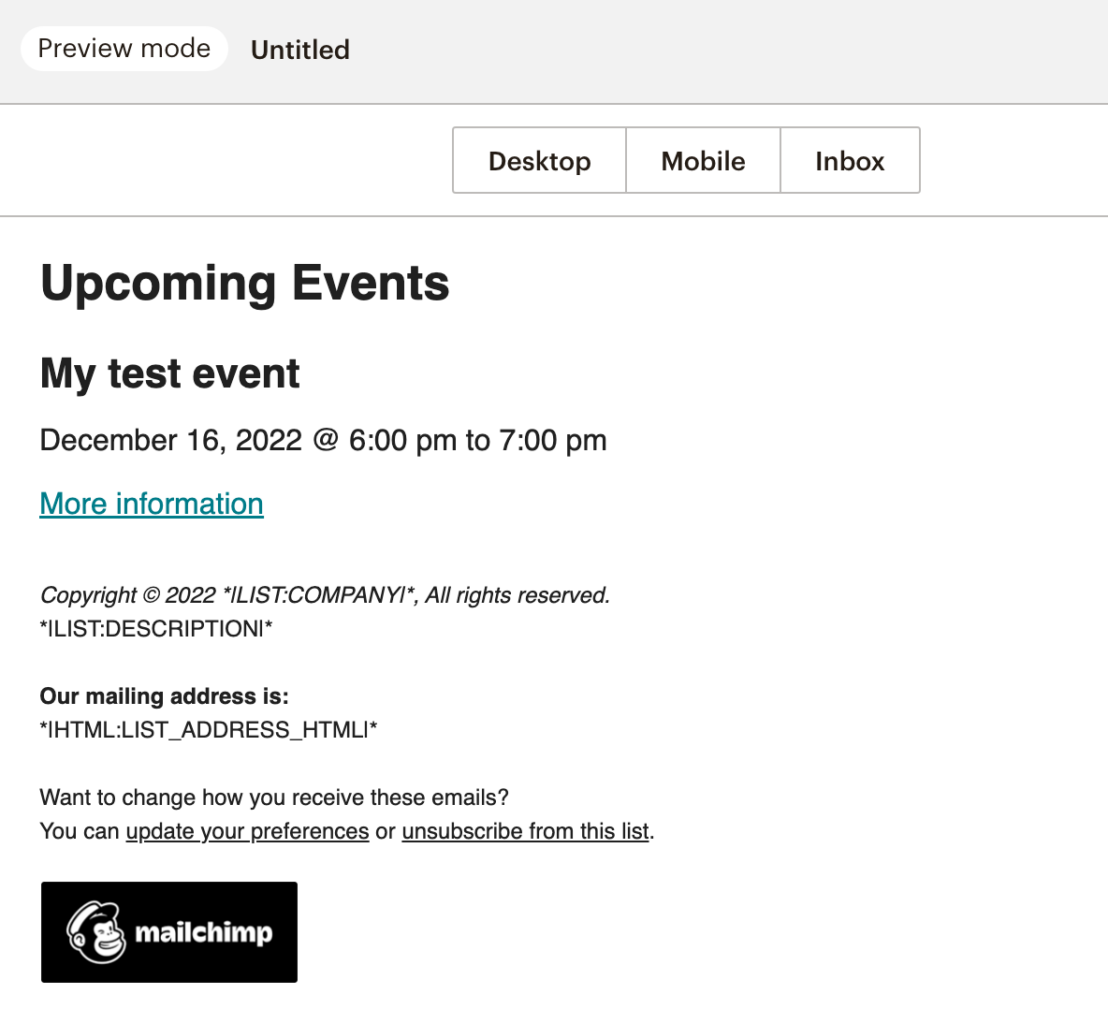
That’s it! As you add events to your Google calendar, they will automatically be updated in your campaigns. No more manually copying and pasting events from your Google Calendar into your Mailchimp newsletter when you can embed Google calendar in Mailchimp.
Creating an Automated Campaign
With Mailchimp, you can set up a fully automated campaign to inform subscribers of your events. This way, you can simply add new events to your site, and people in your mailing list will be automatically kept in the loop.
When you click Finish in the Events in Campaigns wizard, you’ll see a screen with a Feed URL:
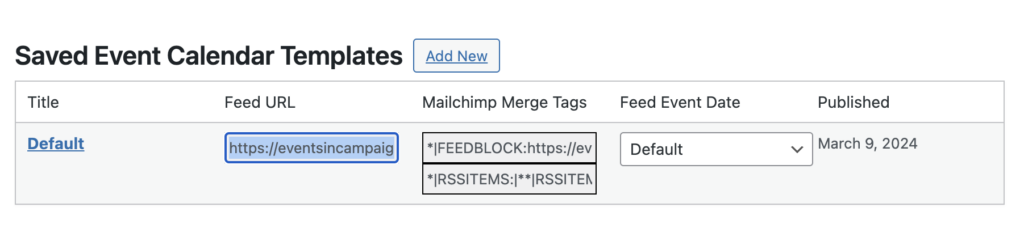
Click on the box under Feed URL and copy it (Cmd+C on a Mac, Ctrl-C on Windows, or right-click and choose Copy).
Create an RSS Campaign in Mailchimp
Login to your Mailchimp account, then click on this link to start creating a new RSS campaign. Mailchimp sometimes won’t show an option to create one if you haven’t before, but using this link will take you right to it:

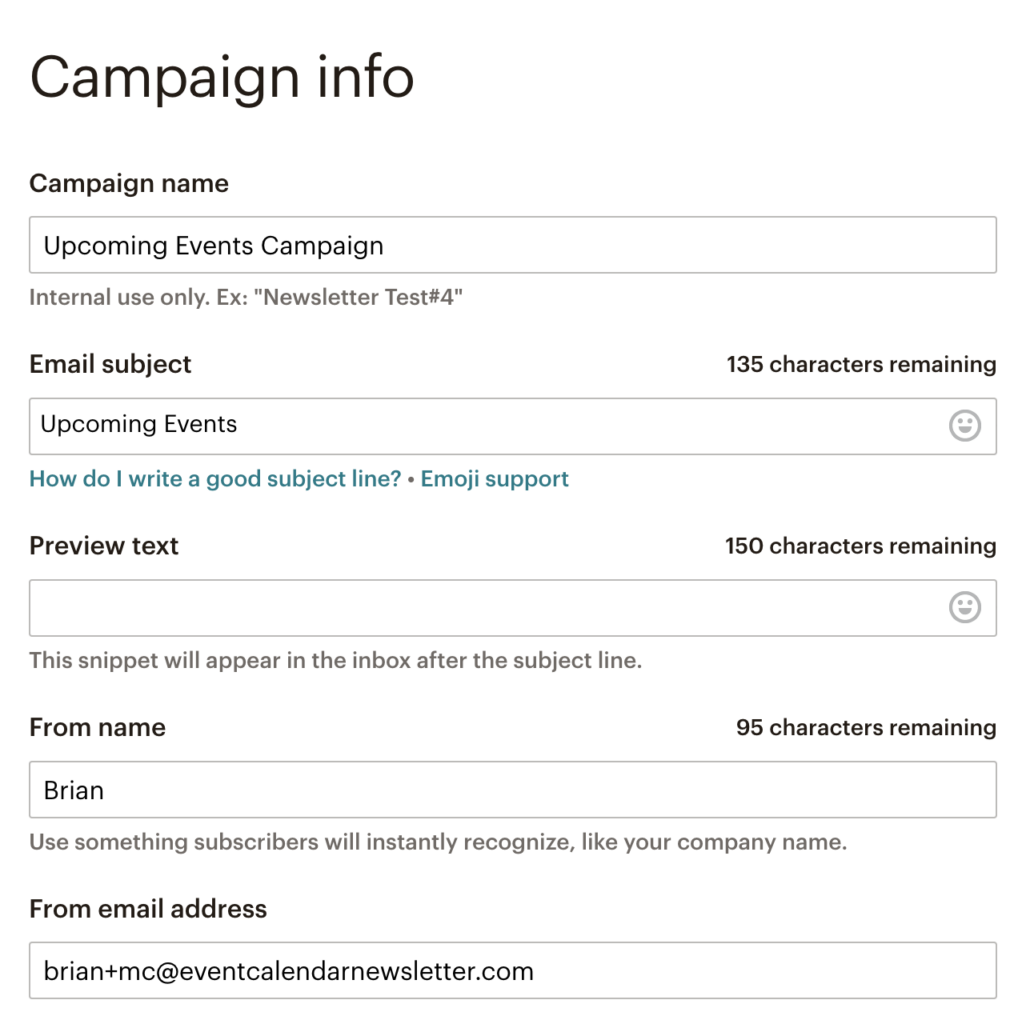
Enter a name for your campaign (internal only for your reference), select your list or “Audience” from the dropdown (if you just created a brand new account, you’ll have a default one with just you in it), and click Begin.
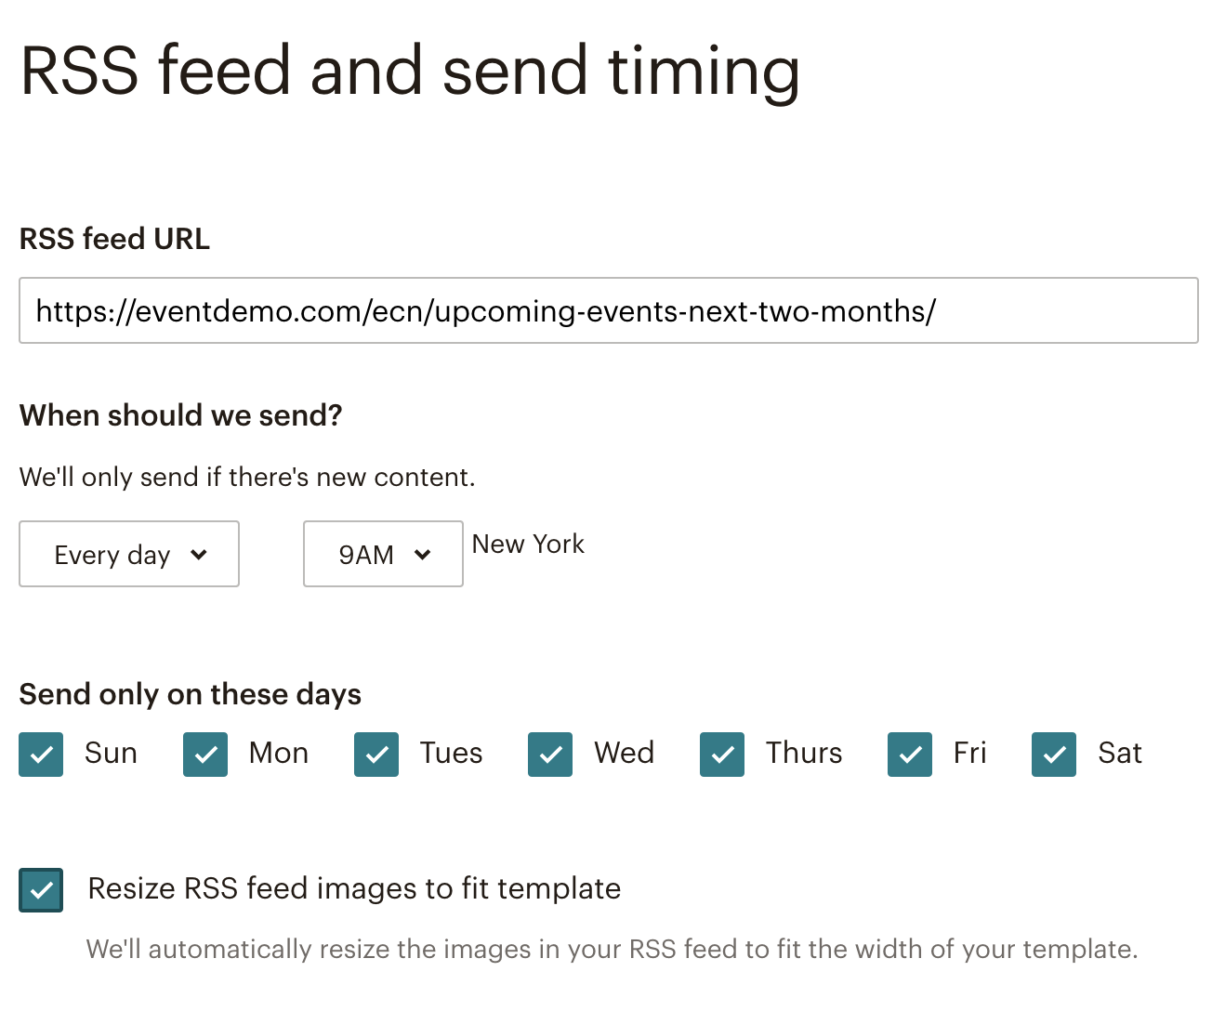
In the RSS feed URL box, paste in the Feed URL you copied at the beginning of this section. Select “Every Week”, the day and the time you’d like to send the mailing. Also check Resize RSS feed images to fit template then, click Next in the bottom-right corner of the browser.
On the next screen, confirm the Audience to send to and click Next.

You can now confirm your campaign name, and you can change the subject to something like “Upcoming Events”:
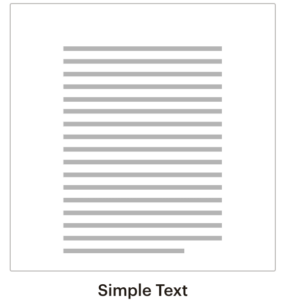
You can now choose any design you would like. While there are RSS campaigns to choose from, I’d recommend going with something like Simple Text (the last one) which is easiest to edit without removing a bunch of default content.
Once in the editor, edit the content to add an introduction if you’d like, then add a new Text block with the following content:
*|RSSITEMS:|**|RSSITEM:CONTENT_FULL|**|END:RSSITEMS|*
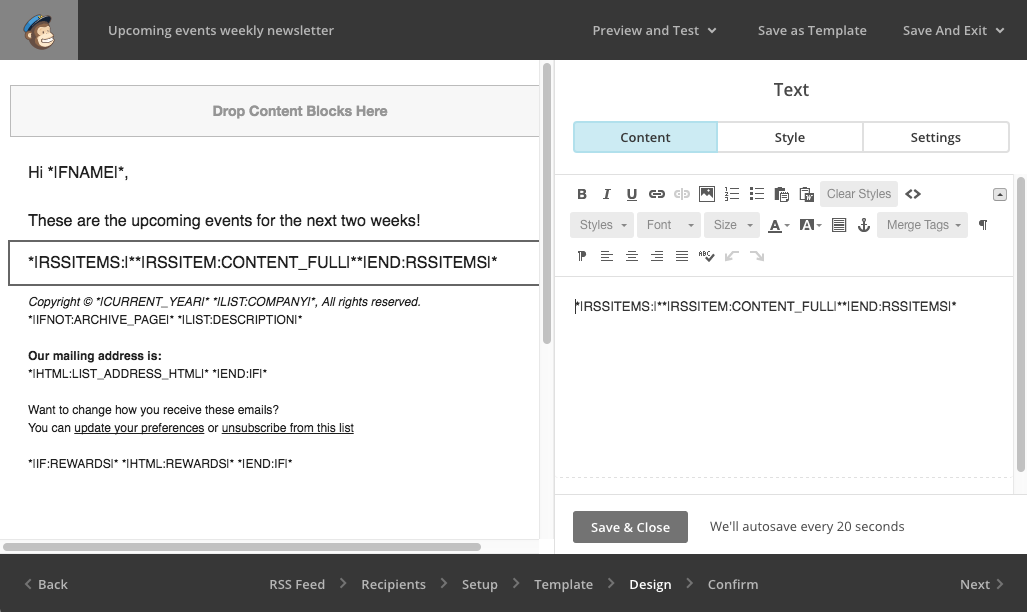
Click Preview and Test at the top then click Enter Preview Mode to see that it’s pulling in your events correctly. If the events appear but don’t look right, you may need to right-click in the text editor and choose ‘Paste and Match Style’ to avoid any extra formatting being added.
![]()
You can also click on the Enable live merge tag info toggle to see exactly how it would look to a specific subscriber.
Last but not least you can also click Preview and Test then Send test email to see how it looks on your desktop and mobile email programs.
Now close the preview mode, click Next in the bottom right corner, confirm everything looks good and there are no errors, then click Start RSS.
That’s it! You can test it out for a week or two and make sure the Sunday emails look how you want and include the events you want, then start adding people to your mailing list.
Conclusion
Events in Campaigns makes it easy to take your events from Google Calendar and send them to your email subscribers!
You can grab a free trial of Events in Campaigns to save you time and effort creating your newsletters.